My baby just turned two...
and this big kid just turned 5!
Oh yeah, and I'm expecting again!
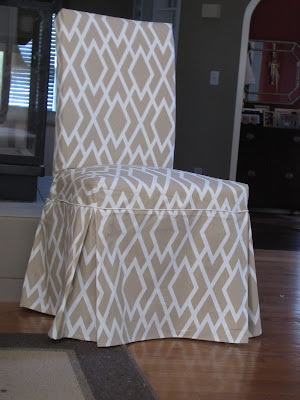
And it looks like I'm going to have to replace the floral print in our nursery with something a bit more masculine...
Because we found out at my 20 week sonogram that we are expecting not one but two baby boys!!!
Our identical twin boys are due in June!!
So far my pregnancy is going great, but knowing that twins often arrive early and that some bed rest towards the end is likely, I've been nesting like crazy trying to finish up projects!
In my last post (sheesh, was that all the way back in October?!) I shared my master bedroom...
We were due for a new mattress and I've wanted to switch to a king size for a while. The realization that I'll be nursing two babies in bed convinced my hubby that it was a good idea.
I scoured craigslist for a headboard for a while to no avail and finally decided to make my own. Here are the fruits of my labor...
I knew I wanted a simple upholstered headboard with straight lines and nail head trim. I scoured blogs and pinterest for ideas on how to go about it, but most of the diys I saw online involved constructing a base out of plywood and 2x2s to make it more substantial. I'm much more comfortable with the upholstery part of the project than with any sort of carpentery, so I decided to simplify the project by upholstering a hollow core door from lowes.
I forgot to take photos of the process, but it was really simple.
- First I cut a piece of foam (a cheap foam mattress pad from walmart) to fit the face of the door and hot glued it to the face only of the door (not the sides, this makes the finished product nice and square on the sides)
- Next I wrapped the door with batting and used a staple gun to attach the batting on the back side.
- Then I wrapped the door in fabric (a curtain panel from Target- I saved the packaging somewhere- let me know if you want to know which curtain I used and I'll search for it!)
- I made piping and attached it with the staple gun around the outside of the door
- Then I glued a band of fabric around the sides and top of the door hiding the raw edge of the piping (I glued over the edge of the piping, but I pulled the back edge over to the back side of the door and stapled it in place)
- Then I added the nail head trim (purchased from Joann's)- this is where I ran into some trouble.
In case you're not familiar with nailhead trim, it comes in a roll that looks like a neat row of nailheads and there is a hole in every 5th nailhead that you nail an actual brass nailhead through to hold it in place- make sense?
Since I was using a hollow core door (emphasis on "hollow") there wasn't much for the nailheads to grab on to. Also, the nail heads are only about half an inch long and they had to push through the fabric batting and foam- it was just too much pressure and they kept popping out- not giving me the tufted edge I was looking for.
The solution I came up with was to use tiny brass colored screws (back to lowes!) through the holes in the nailhead trim. They did the trick! They are barely visible (though I'm still considering gluing the head part of the nailhead over the screws to hide them...) as you can see here:
Once it was all finished I used a french cleat (also from lowes- sold with the picture hangers) to attach the headboard to the wall. It's basically two metal strips- you attach one to the wall and one to the headboard and the part attached to the headboard nestles inside the strip on the wall to hold it in place. As an added bonus, since it's about 10 inches long, you can slide the headboard a few inches in either direction once it's hung and it's still secure.
Anyway, I'm loving the new mattress and I'm really happy with how the headboard turned out! Now if my new back-ordered duvet cover would ever arrive!
Here's one last photo with the settee at the foot of the bed to make room for the bassinet in the bay window!
PS - I'm now officially home on bedrest after spending 4 days in the hospital for some pre-term labor. All is well, I'm just hoping these little ones will stay put for at least another week! Your comments would be greatly appreciated by this bored-in-bed mama!!
Love,


